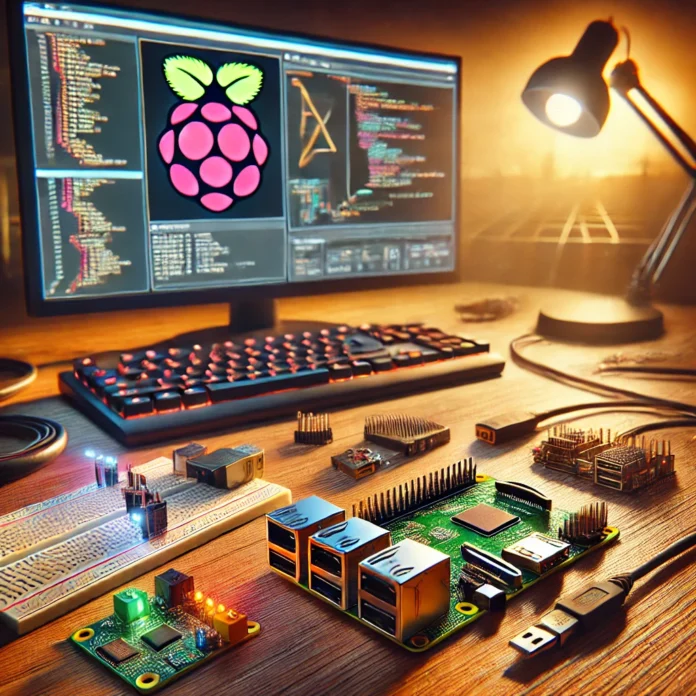
The Raspberry Pi has long been a favorite for DIY enthusiasts and tech beginners alike, offering unmatched versatility in a compact, affordable package. Whether you’re looking to explore Raspberry Pi projects like building a retro gaming console, automating your home, or creating a personal weather station, the Raspberry Pi 5—the latest in the series—has the power to bring your ideas to life. This guide will walk you through the essentials to get started, choose a project, and successfully complete it.
What Is a Raspberry Pi?
The Raspberry Pi is a single-board computer developed by the Raspberry Pi Foundation to promote computer literacy and accessibility. Despite its small size and low cost, the Raspberry Pi offers powerful capabilities, making it a cornerstone in DIY tech projects.
The latest model, the Raspberry Pi 5, was launched in late 2023 and features significant upgrades over its predecessor. It includes a quad-core ARM Cortex-A76 processor running at 2.4GHz, up to 8GB of LPDDR4X RAM, dual micro HDMI ports supporting 4K displays, USB 3.0 connectivity, and PCI Express support for faster data transfer and expandable storage. With its enhanced processing power, the Raspberry Pi 5 is perfect for a wide range of projects, from AI-driven devices to media centers.
What Do You Need to Get Started?
To build your first Raspberry Pi project, you’ll need the following:
1. Raspberry Pi Board: The Raspberry Pi 5 is the latest and most versatile option for performance-intensive projects.
2. MicroSD Card: At least 32GB, preloaded with an operating system like Raspberry Pi OS.
3. Power Supply: A 5.1V/5A USB-C power adapter (the official Raspberry Pi power supply is strongly recommended for optimal performance, especially with peripherals).
4. HDMI Cable: One or two cables if you plan to utilize the dual-display feature.
5. Keyboard and Mouse: Required for the initial setup.
6. Case: Optional but recommended for protection, heat management, and easy portability.
7. Internet Connection: Use Wi-Fi or Ethernet for software updates and downloads.
Optional accessories like cameras, sensors, AI modules, and breadboards can enhance your project.
How to Set It Up
1. Install the Operating System:
• Download the Raspberry Pi Imager from the official website.
• Use it to flash Raspberry Pi OS onto your microSD card.
• Insert the microSD card into your Raspberry Pi.
2. Connect and Boot:
• Attach the micro HDMI cable(s) to your monitor or TV, connect the keyboard and mouse, and plug in the power supply.
• Once powered on, the Raspberry Pi will boot into the OS setup screen.
3. Configure Settings:
• Follow the on-screen instructions to set up Wi-Fi, create a user account, and update the software.
Choosing Your First Project
The Raspberry Pi 5 opens up endless possibilities for creative projects. Here are five beginner-friendly ideas to get started:
1. Retro Gaming Console
Transform your Raspberry Pi into a retro gaming machine using RetroPie or Recalbox. Play classics from consoles like the NES, SNES, or Sega Genesis with just a controller and some game ROMs.
2. AI-Powered Smart Mirror
Use the Raspberry Pi and the new AI-powered camera module to create a smart mirror. Display time, weather, news, and personalized information while incorporating features like facial recognition.
3. Personal Web Server
Host your own website or blog with tools like Apache, Nginx, or WordPress. This is an excellent way to learn web hosting basics or run a personal project.
4. High-Speed Media Center
Install Kodi to turn your Raspberry Pi into a powerful streaming hub. With its dual micro HDMI ports and PCIe support, the Raspberry Pi 5 can handle 4K streaming and even external storage for larger libraries.
5. Weather Station
Combine your Raspberry Pi with sensors to monitor weather conditions like temperature, humidity, and pressure. Display real-time data on a screen or upload it to a cloud service for remote access.
Building Your Project
Once you’ve chosen a project, follow these steps to bring it to life:
1. Gather Materials: Ensure you have all the required components, including hardware, software, and accessories.
2. Install Project-Specific Software: For example:
• Use RetroPie for gaming.
• Install Home Assistant for smart home hubs.
• Set up AI software frameworks like TensorFlow Lite for AI-driven projects.
3. Follow Tutorials: Many free, detailed guides are available online to help you set up your project step-by-step.
4. Test and Troubleshoot: Run your setup and identify any issues. The Raspberry Pi community on forums like Stack Exchange or Reddit is a valuable resource.
5. Customize: Once your project is functional, add personal touches such as custom cases, additional features, or unique designs.
Tips for Success
1. Start Small: If you’re new to Raspberry Pi, pick a simple project like a media center or personal web server before diving into advanced builds.
2. Leverage Community Resources: Utilize forums, GitHub repositories, and the Raspberry Pi Foundation website for ideas and troubleshooting help.
3. Document Your Process: Keep track of the steps you take, challenges you encounter, and solutions you find.
4. Experiment and Innovate: Don’t hesitate to modify existing projects or combine different ideas to create something new.
Why Raspberry Pi Projects Are Worth It
The Raspberry Pi 5 has elevated DIY tech to new heights with its advanced processing power, PCI Express support, and AI capabilities. Whether you’re a tech novice or an experienced maker, working with Raspberry Pi provides an opportunity to develop valuable skills in coding, hardware integration, and creative problem-solving. From practical tools like smart home hubs to experimental art installations, the possibilities are virtually limitless.
So grab your Raspberry Pi, dive into the world of DIY technology, and create something amazing. Your first project might just ignite a lifelong passion for innovation.


